
If you’re needing a bit of guidance to get your shower up and running or think something isn’t performing as it should, we’re here to help.
Before we dive into it, please make sure you have watched our instructional video first.
You will also be able to gauge what output you should be expecting from your shower along with how many pumps/top up pumps you should be giving.
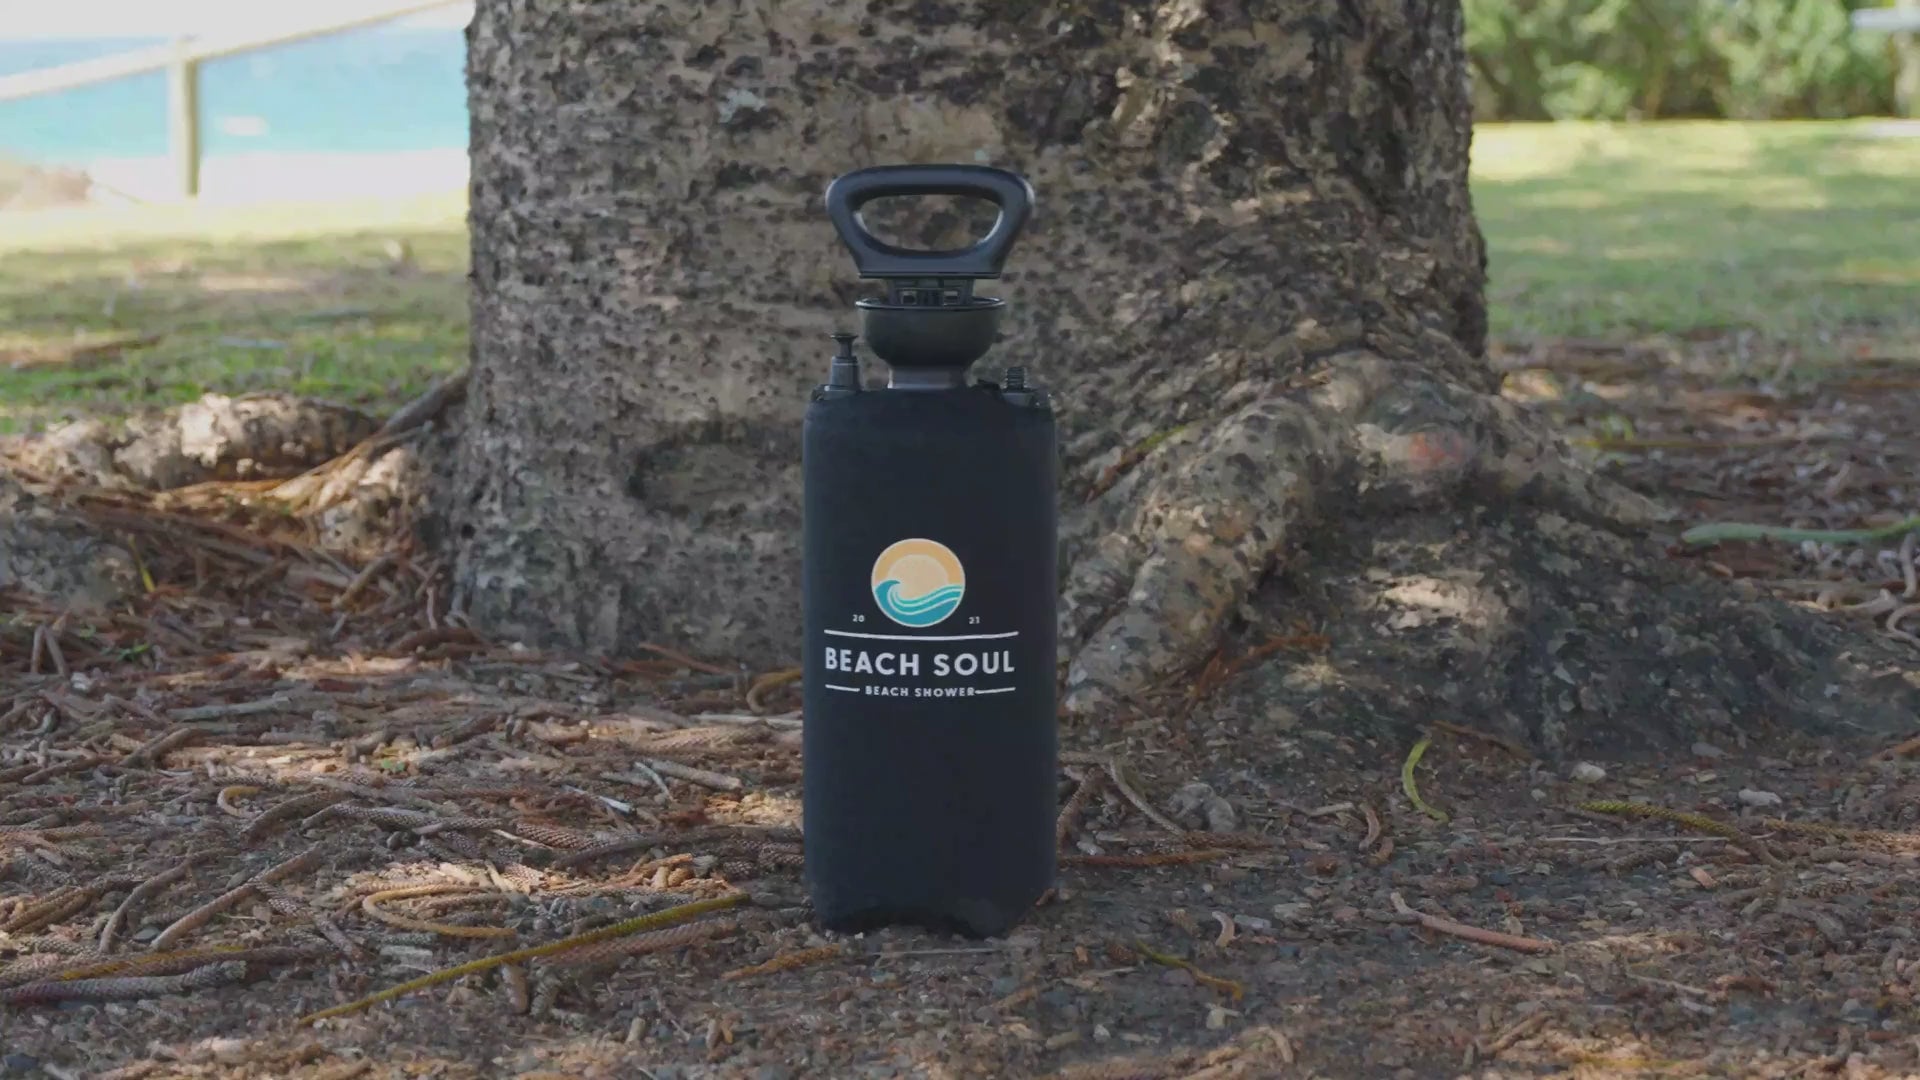
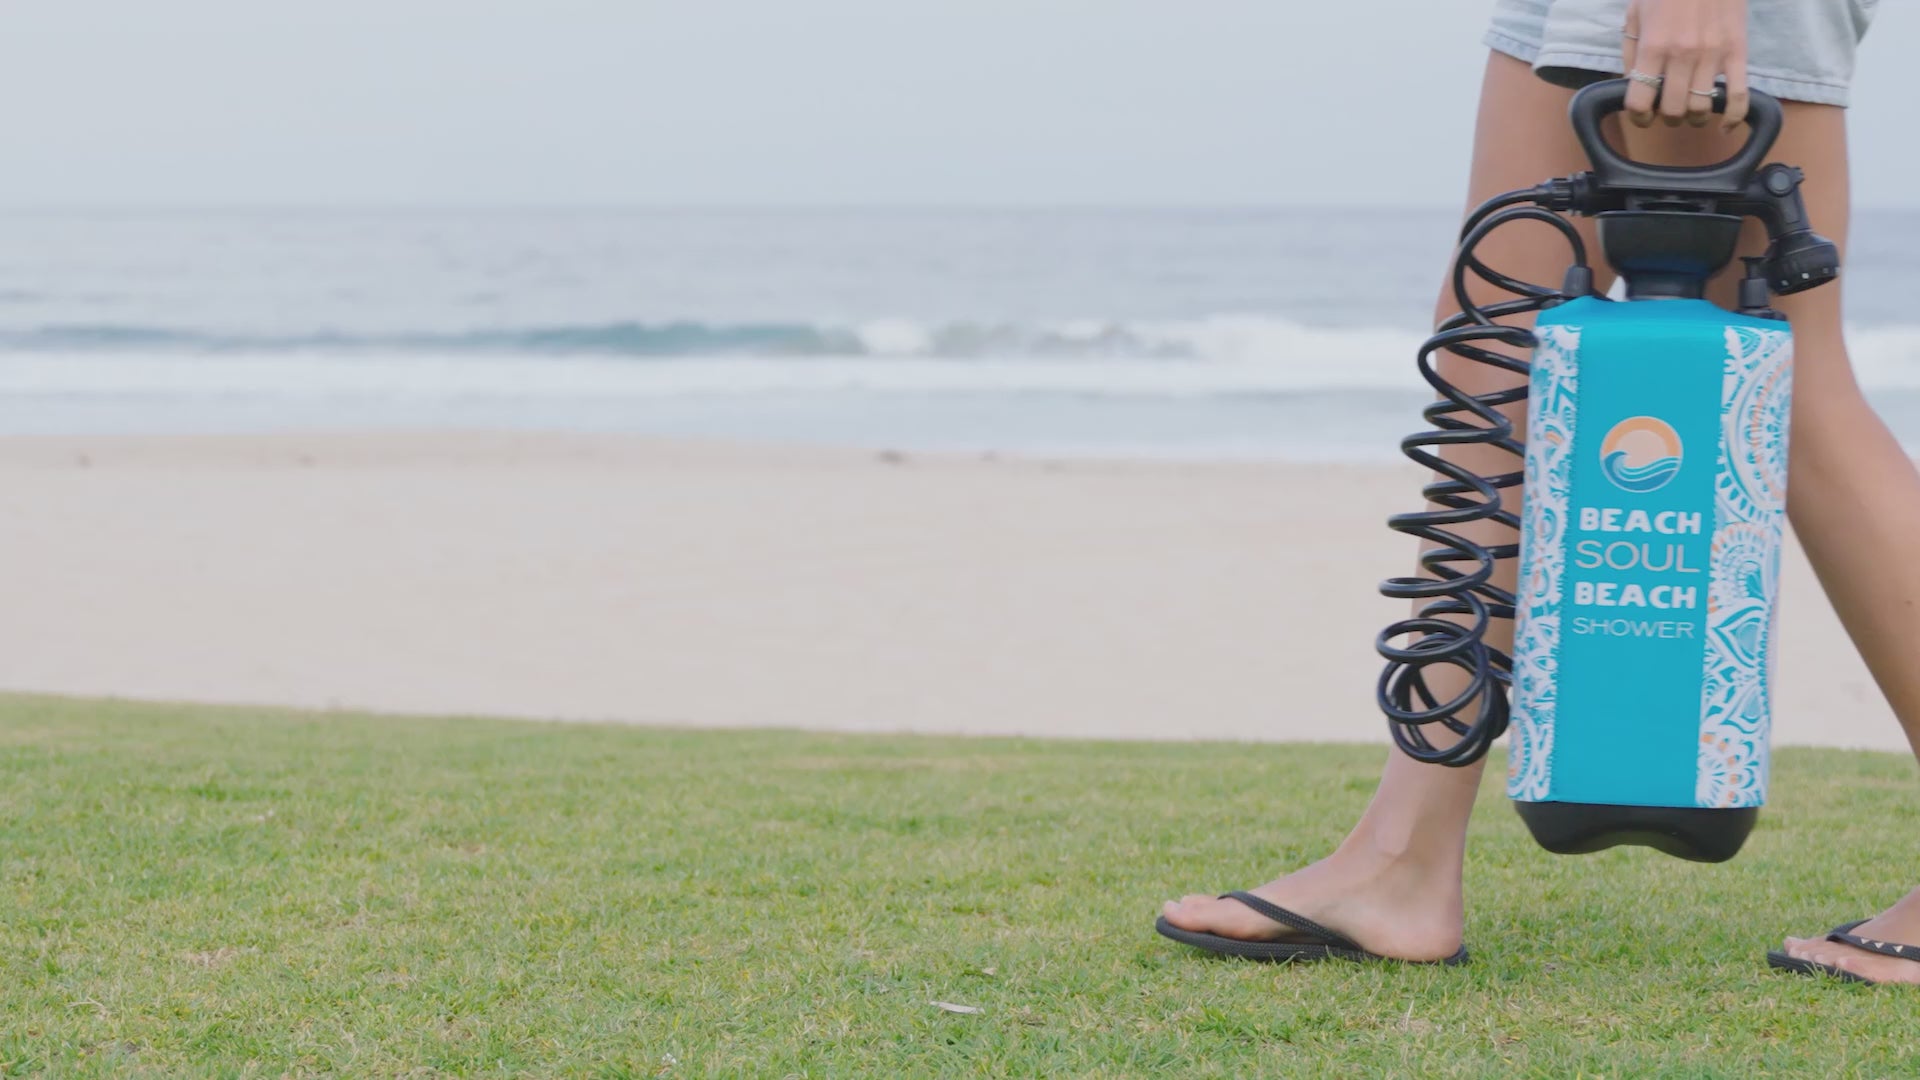
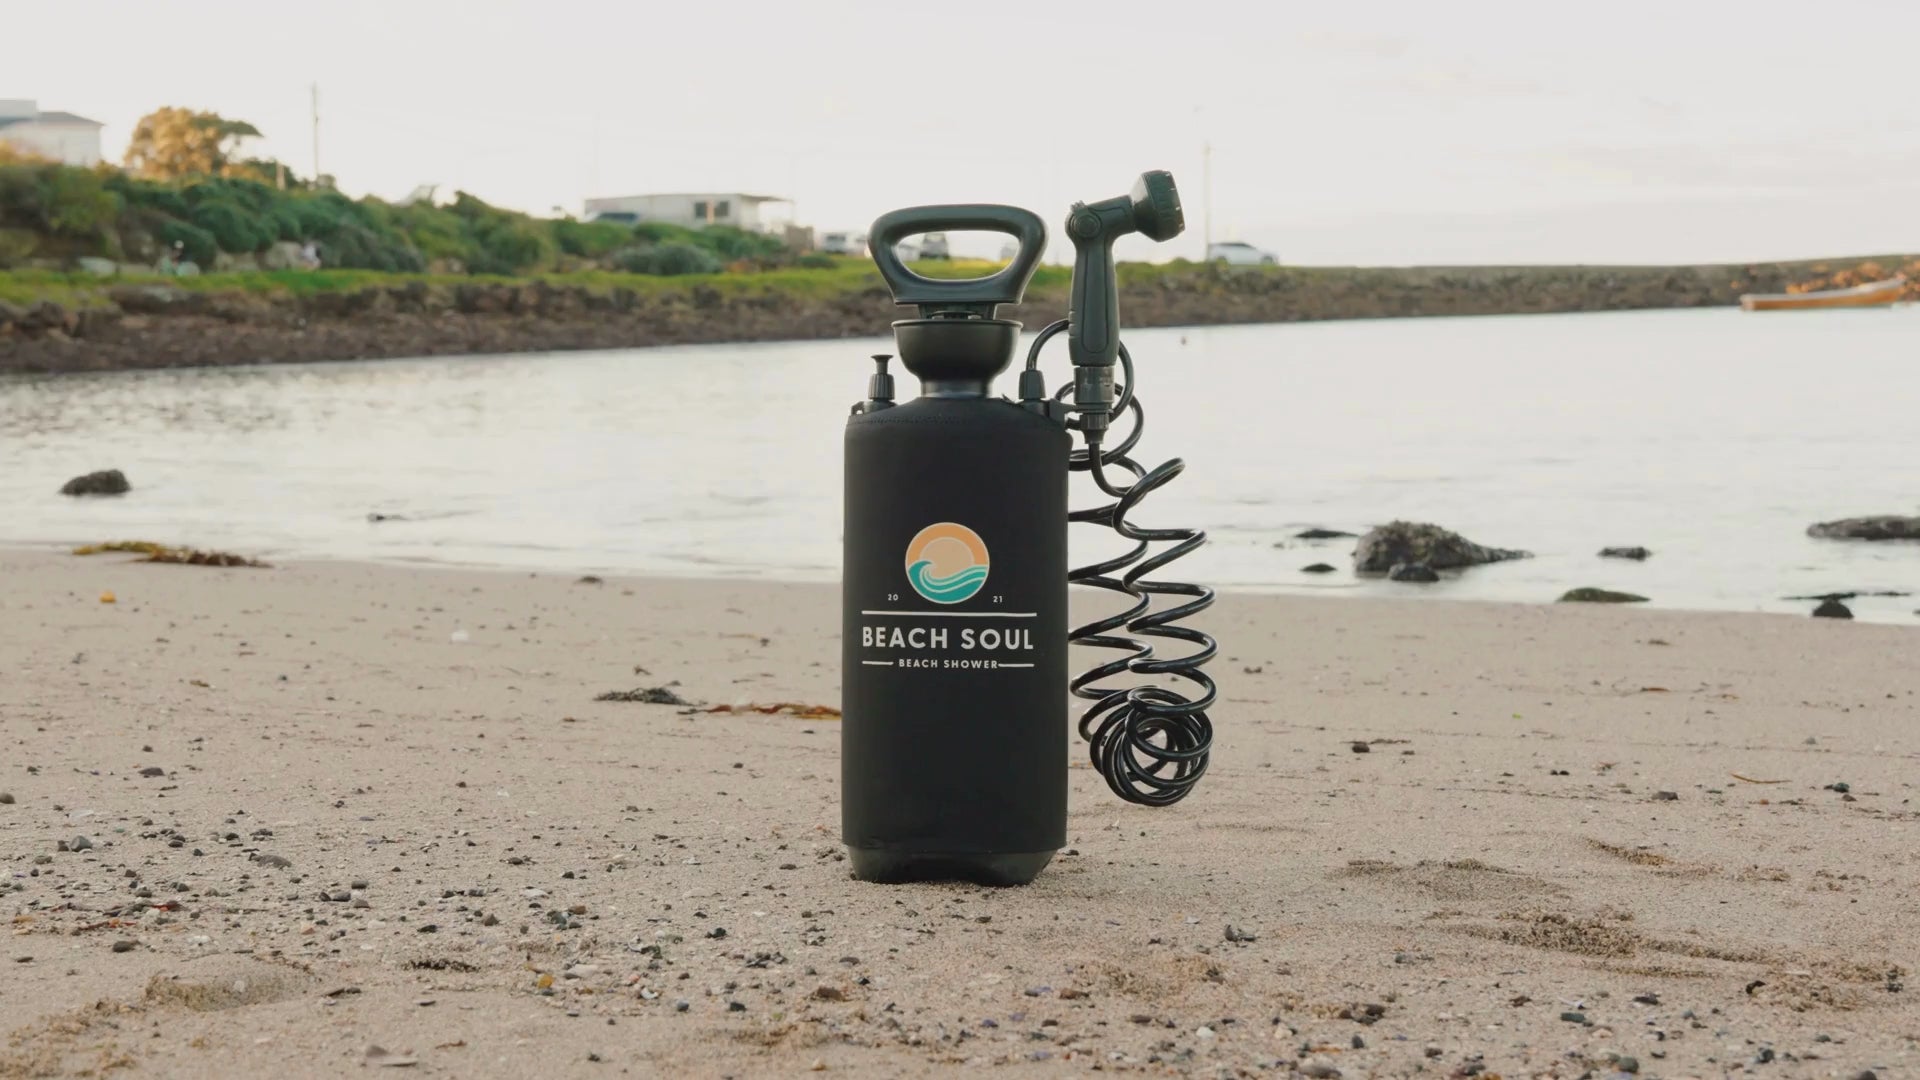
How to use your Portable Shower
If you're still experiencing issues with your shower after trying the troubleshooting suggestions below, please submit a Warranty Ticket HERE
GENERAL QUESTIONS
Q1: What is this extra bag of bits and pieces I received with my shower? Do I need to add them the shower to make it work?
That little bag of goodies are spare parts that can be used to pro-long the life of your Beach Soul Shower and are given as an 'Emergency Warranty Repair Kit' when you receive your shower. No need to add them now, you can tap into them at a later date should you need to.
Have a look at the bottom of the Warranty page to see exactly what they are for and where they go.
Q2: What can I do if the water from my shower has a bit of a plastic smell?
If your shower still has a bit of a new product smell after giving it a good rinse out, the next step is to add a few drops of vanilla into the equation.
Add the drops to an empty tank then fill with about 1L of water. Give it a good swish around, empty the tank and then leave it open to air and dry out.
Q3: I can't open my shower. What should I do?
This can happen if there is built up pressure inside the tank, even if it’s a new product.
- Gently pull up the pressure release valve to allow the release of any residual pressure in the tank.
- Push firmly down on the pump handle and screw open in an anti clock-wise direction.
Please watch this video HERE if you still can’t manage to unscrew and dislodge the pump handle.
How to open a tightly closed shower
In this informative video, we'll show you step-by-step how to easily open a stubborn or tightly closed shower.
Whether you're at the beach, poolside, or any outdoor location with a shower, knowing this technique can save you time and frustration.
FILLING UP RELATED
Q4: I can’t seem to fill it up with water properly and when I remove the handle, only the thin cylinder in the centre fills. It doesn’t seem to hold much water. What's going on?
It sounds like you may be trying to fill up the inner part of the pump handle itself and not the shower tank. Watch this video HERE and complete the following steps:
- Remove any water that may be in the sleeve by turning your shower upside down and giving it a gentle shake.
- Return the pump handle back into its sleeve - there may be some air pressure as you push the two parts together, continue pushing until you hear a click.
- Rotate the connecting ring clockwise to re-attach the outer sleeve to the pump handle. Tighten until the ring is firmly secured.
- Now that the pump is re-connected correctly, push down firmly to remove it from your shower*
- Fill your tank with water, insert the pump back into the shower and turn the handle clockwise to close it securely – your shower is now ready to use.
*The key is pushing down in an anti clock-wise direction when opening, and using the weight of your body to push down to dislodge/unscrew it. You can even unscrew without the pump handle being aligned with the locking grooves of the pump, you just need to use that body weight to push down before turning and it will open.
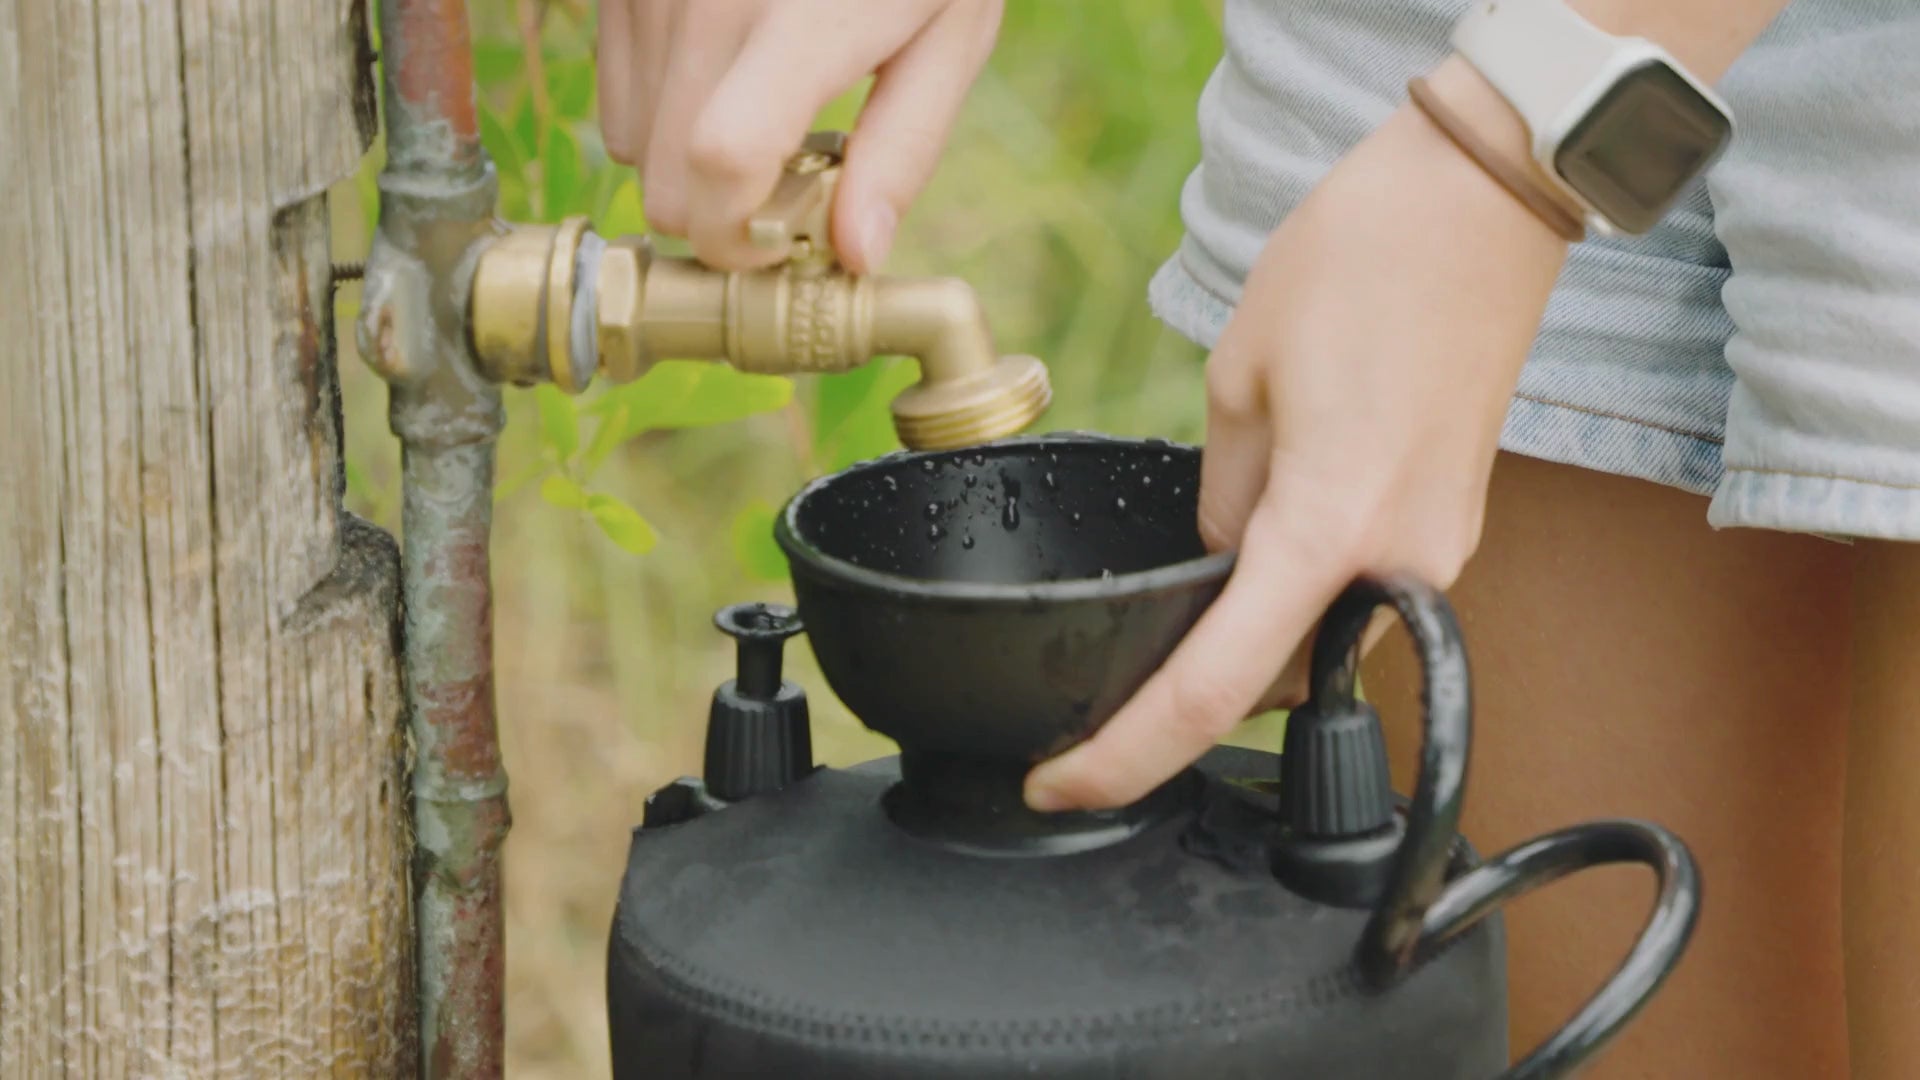
How to fill up your shower
Having trouble filling your shower with water? Watch this short video for guidance.
WATER PRESSURE RELATED
Q5: I can’t seem to build water pressure, what should I do?
First and foremost, please try to tighten any loose parts and check that the cable adapter where the shower head connects, is securely fitted (just in case this has come loose somehow).
If something has come loose, you may hear a slight hissing sound after pumping. Please listen out for this noise. If heard, you will need to tighten all the parts and it should work as expected.
If the above tightening of parts doesn’t do the trick, there could be a couple of things going on here…
- The safety pressure valve may have popped open – please check it is not broken
- The tube inside the tank may have come off the fitting – please see trouble shooting Q6 below
- The o-ring on the pump itself could have moved/dislodged or the seal at the bottom of the pump may have come off – please see trouble shooting Q11 below
Q6: I’m having trouble getting a continuous flow of water. It’s blowing air and also spits and sputters some water. What should I do?
The tube inside the bottle has either detached from the fitting during transportation to you or there is a crack/split in the tube. Watch this video HERE on how to fix it:
- Unscrew the cap connector and check if the tube inside is connected tightly and securely to the hose by pushing the tube towards the cap.
- If you find a small split in the tube, simply rotate the tube and re-attach it, making sure it is pushed in securely.
- After connecting the tube to the coiled hose, insert the tube back into your shower and screw the cap tightly in place.
- The above steps should fix any issues with the water flow and your shower will now be ready to use.
Submit a warranty ticket for a free replacement tube if still within the warranty period or purchase a replacement tube if outside of the warranty HERE.
How to resolve a lack of water flow issue
If the flow of water from your shower has stopped or is significantly reduced watch this video on how to fix it
Q7: I hear a gurgling/bubbling sound from around the pump handle what should I do?
Usually this noise is because the pump handle needs to be tightened up a little more. Please screw the pump handle in a clock-wise direction to tighten into place.
Q8: I hear a hissing sound like air is escaping. What should I do?
This sound can happen if:
- The hose connector to the bottle has become loose - please re-screw the connector nice and tight.
- The pressure release valve is not closed securely - please check to see the top part of the valve is in alignment with the bottom and adjust accordingly.
If you have tried the above steps and there is still air escaping please submit a warranty ticket HERE
Q9: I hear air escaping around the coiled hose and it keeps becoming loose. How can I tighten it further to stay screwed on properly?
Please visit the coiled hose Q14 trouble shooting section below.
PUMP RELATED
Q10: My pump makes a squeaking sound. Is this normal?
Yes it is, so don't worry. This is due to the pressure you are creating.
If it becomes very noisy over time and/or difficult to move up and down, you may need apply petroleum jelly to the 4m o-ring inside the pump. See Q11 below.
Q11: My pump has become stuck and it won’t move up and down freely. What should I do?
The 4cm o-ring inside the pump will need additional lubrication applied (or may need to be replaced – you can find a replacement part in your Shower Warranty Repair kit or you may purchase one HERE).
You will need to apply petroleum jelly:
- Inside the groove of where the o-ring sits
- Around the o-ring itself
This lubrication is required to ensure the o-ring stays in place and the pump moves freely.
If no petroleum jelly is applied the o-ring will become stuck and the pump will cease to work.
How to maintain and service your shower pump
If your shower pump is squeaking or isn’t moving freely, or if you are performing your regular 3-6 monthly pump maintenance checks, watch this video.
SHOWER HEAD RELATED
Q12: Why is water dripping from the shower head when it's not being used?
This can happen if there is still pressure built up inside the tank.
After you finish using your shower, always release any residual pressure left inside the tank by gently lifting up the pressure release valve.
Water can still be in the tank to do this – it’s the residential pressure that is causing your shower head to drip.
Q13: The trigger on the shower head has popped off and I can’t control the flow of water. What should I do?
It sounds like the shower head clips may be broken. If you still have the trigger part (the part that moves up and down to control water flow) you will just need to grab some replacement shower head clips to get you back up and running.
If you have lost the trigger part, you will need a new shower head replacement. All spare parts can be found HERE.
COILED HOSE RELATED
Q14: My coiled hose keeps unscrewing and air is escaping from the tank. What should I do?
If the hose is not screwed on correctly to the tank thread, air can escape.
Watch the short video below and try following the steps below for a tight and secure hose connection:
- Unscrew the hose connector cap and remove the tube completely.
- Move the screw cap connector up and down to loosen it.
- You may need to use more force to loosen a very tight cap.
- If the o-ring is stuck within the cap, use a narrow object to release it and reposition the ring.
- You can now re-attach the tube to the hose and the hose onto your shower.
- Turn the cap clockwise to tighten it in place.
FYI - the coiled hose can come loose from time to time after being used, especially if stretched out and moved quite a lot and will need to be tightened as required.
How to tighten a loose coiled hose connection
Having trouble keeping the coiled hose connection tight and secure? Try following these steps outlined in this short video.